
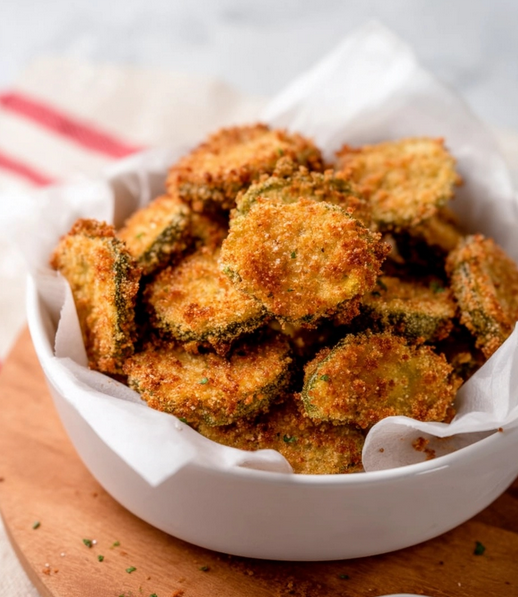
Okay, gather ’round, friends, because I have a snack story for you! The other day, I was craving something crunchy, savory, and a little bit naughty, but without the guilt of deep-fried anything. My eyes landed on a jar of dill pickles, and a lightbulb went off. After a bit of pantry raiding and some experimental broiling (my first batch was… let’s just say a tad too crispy on one side!), these Crispy Broiled Pickle Bites were born. And let me tell you, they disappeared from the plate in about five minutes flat!
These little bites are an absolute game-changer. If you’re looking for a quick appetizer that’ll have everyone reaching for more, a healthier snack to satisfy those salty cravings, or just something new and exciting to try, you have to make these. They’re ridiculously easy and oh-so-satisfying.
Why This Recipe is a Winner (and Your New Best Friend!)
So, what makes these pickle bites so special? I’m glad you asked!
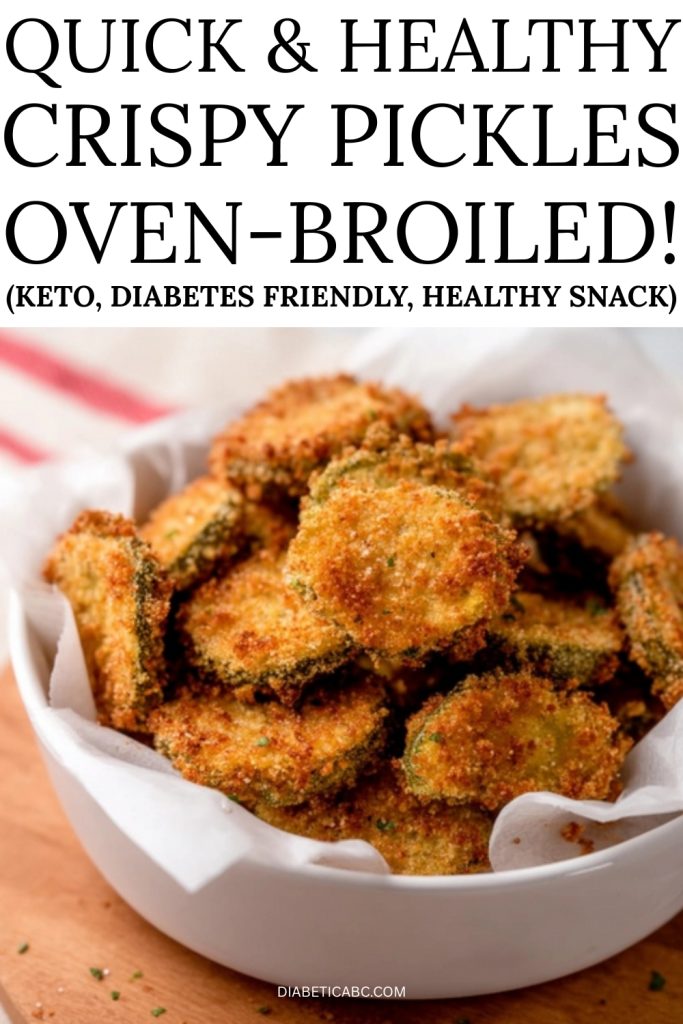
- Crunch Without the Calamity: We’re talking serious crunch factor here, all thanks to the magic of your oven’s broiler. You get that irresistible texture you love from fried pickles, but without the mess or extra calories of deep frying.
- Flavor Overload (In the Best Way!): The zesty dill pickles, salty Parmesan, savory almond flour, and that little kick from taco seasoning and smoked paprika? It’s a party in your mouth, folks.
- Seriously Simple & Speedy: From pantry to plate in under 30 minutes? Yes, please! This recipe is perfect for last-minute snack attacks or when you need an impressive appetizer without spending hours in the kitchen.
What You’ll Need: Your Ingredient Lineup
The beauty of this recipe is its simplicity, and the ingredients are probably things you already have or can easily grab!
- 36 ounces dill pickle chips, well-drained: The star of the show! Make sure they’re nice and dry so the coating sticks. Any brand of dill chips works.
For the Coating:
- ¾ cup (approx. 84g) grated Parmesan cheese: Use the good stuff if you can; it really makes a difference in flavor. Pre-grated is totally fine for convenience.
- ⅜ cup (approx. 42g) almond flour (or almond meal): This gives a lovely nutty flavor and keeps things low-carb.
- 1 ½ teaspoons taco seasoning: Your favorite brand will do! This adds a nice, warm spice.
- ½ teaspoon smoked paprika: This adds a lovely subtle smokiness and color. Don’t skip it!
- ⅜ teaspoon salt: Adjust to your taste, especially considering your pickles and Parmesan might already be salty.
- 3/16 teaspoon black pepper: (That’s one ⅛ teaspoon plus a “pinch,” or just a generous ⅛ teaspoon!) Freshly ground is always a plus.
For the Egg Wash:
- 3 large eggs: These help bind the coating to the pickles.
- ¾ cup heavy cream: Adds richness to the egg wash and helps the coating crisp up.
- 3 tablespoons water: Thins out the egg wash just a touch.
Let’s Get Crispy: Step-by-Step to Pickle Perfection
Alright, ready to make some magic? Here’s how:
- Get Your Oven Ready: First things first, pop an oven rack about 4-6 inches from your broiler element. Then, turn that broiler on to HIGH. While it’s heating, thoroughly pat your dill pickle chips dry with paper towels. Seriously, don’t skimp on this step – it’s key for a crispy coating!
- Whip Up the Egg Wash: Grab a mixing bowl and crack in your eggs. Add the heavy cream and water, then whisk it all together like you mean it until it’s smooth and perfectly combined.
- Mix Your Magic Dust (aka The Coating): In a separate mixing bowl, toss in the grated Parmesan cheese, almond flour, taco seasoning, smoked paprika, salt, and black pepper. Give it a good stir with a fork until all those yummy dry bits are evenly mixed.
- The Three-Step Dip: Now for the fun part! Working with a few pickle chips at a time:
- First, dredge them really well in the dry coating mixture, making sure every nook and cranny is covered.
- Next, take those coated pickles for a swim in the egg wash.
- Finally, return them to the dry coating for a second, generous layer. Give them a little pat to help that coating really stick.
- Arrange and Get Ready to Broil: Line a baking sheet with parchment paper (my favorite for easy cleanup!) or aluminum foil lightly sprayed with non-stick cooking spray. Place your beautifully coated pickle chips in a single layer on the sheet. Try not to let them overcrowd the pan – they need their space to get crispy all over!
- Broil Time – Side One: Carefully slide that baking sheet under your preheated broiler. Let them broil for about 4 to 6 minutes on the first side. You’re looking for a gorgeous golden-brown color and a crispy coating. Keep a close eye on them! Broilers are speedy, and things can go from golden to burnt in a flash.
- Flip ‘Em and Finish ‘Em: Once side one is looking fabulous, take the baking sheet out of the oven. Gently flip each pickle bite over. Pop them back under the broiler for another 4 to 6 minutes, again, until they’re perfectly golden brown and irresistible.
- Cool Slightly & Serve: Let your Crispy Broiled Pickle Bites cool down for just a minute or two – they’ll be hot! Then, serve them up warm.
A Few Pro Tips From My Kitchen to Yours
- Pickle Power: While classic dill chips are fantastic, feel free to experiment with spicy dill pickles or even bread and butter pickle chips if you like a sweeter tang (though this will change the carb count).
- Seasoning Switch-Up: Not a taco seasoning fan? Try a ranch seasoning mix, some Italian herbs with garlic powder, or even just a bit more smoked paprika and a pinch of cayenne for heat.
- Don’t Crowd the Pan: I mentioned it before, but it’s worth repeating! Giving the pickles space allows the hot air to circulate, ensuring maximum crispiness. Work in batches if you need to.
- Storage (If You Have Leftovers… Which You Might Not!): These are definitely best enjoyed fresh and hot. If you do have leftovers, store them in an airtight container in the fridge for a day or two. You can try to crisp them up again under the broiler for a minute or two or in an air fryer, but they won’t be quite the same as when freshly made.
Serving Suggestions & Pairing Perfection
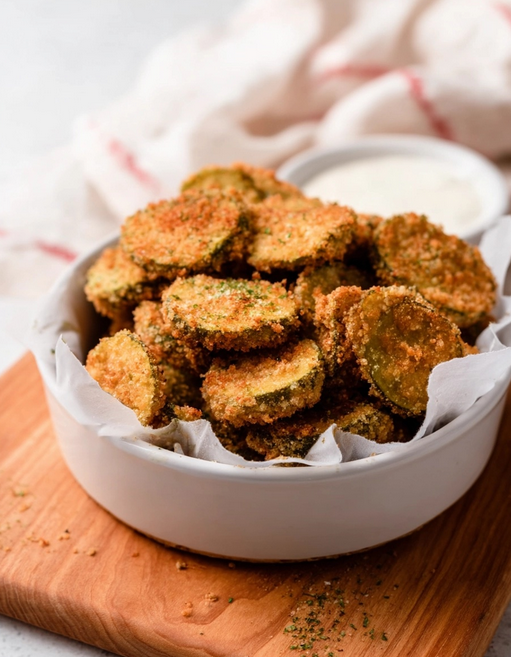
These little bites of joy are fantastic on their own, but they love a good dip!
- Dips: A classic ranch dressing is a no-brainer. Spicy aioli, a creamy garlic dip, or even a honey mustard (if you’re not strictly low-carb) would be delicious.
- Occasions: Perfect for game day, movie night, an easy party appetizer, or just when you need a darn good snack.
- Pairings: If you’re making a bigger spread, they’d be great alongside some celery and carrot sticks, cheese cubes, or even some low-carb chicken wings. For a drink, a crisp, light beer or a chilled glass of unsweetened iced tea would hit the spot.
Crispy Broiled Pickle Bites
Ingredients
- 36 ounces dill pickle chips well-drained
For the Coating:
- ¾ cup approx. 84g grated Parmesan cheese
- ⅜ cup approx. 42g almond flour (or almond meal)
- 1 ½ teaspoons taco seasoning
- ½ teaspoon smoked paprika
- ⅜ teaspoon salt
- 3/16 teaspoon black pepper equivalent to one ⅛ teaspoon plus one "pinch", or a generous ⅛ teaspoon
For the Egg Wash:
- 3 large eggs
- ¾ cup heavy cream
- 3 tablespoons water
Instructions
- Prepare the Oven and Pickles: Position an oven rack about 4-6 inches from the broiler element and set the oven to a high broil setting. Thoroughly pat the dill pickle chips dry with paper towels to remove excess moisture; this helps the coating adhere better.
- Create the Egg Wash: In a mixing bowl, combine the eggs, heavy cream, and water. Whisk vigorously until the mixture is smooth and homogenous.
- Mix the Dry Coating: In a second mixing bowl, add the grated Parmesan cheese, almond flour, taco seasoning, smoked paprika, salt, and black pepper. Stir with a fork until all dry ingredients are evenly distributed.
- Coat the Pickles: Working with a few pickle chips at a time, first dredge them thoroughly in the dry coating mixture, ensuring all sides are covered. Next, submerge them in the egg wash. Finally, return the egg-washed pickles to the dry coating mixture for a second, generous layer, pressing lightly to help it stick.
- Arrange for Broiling: Place the fully coated pickle chips in a single layer on a baking sheet lined with parchment paper, or aluminum foil coated with non-stick cooking spray. Ensure the pickles are not overcrowded to promote even browning.
- Broil to Golden Perfection: Carefully place the baking sheet under the preheated broiler. Broil for 4 to 6 minutes on the first side, or until the coating is golden brown and crispy. Watch them closely as broilers can cook very quickly.
- Flip and Finish: Remove the baking sheet from the oven, flip each pickle bite, and return to the broiler. Cook for an additional 4 to 6 minutes on the second side, again until golden brown and crisp.
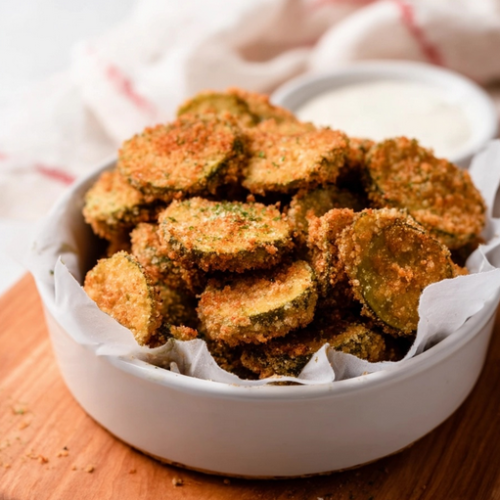
- Serve: Let the Crispy Broiled Pickle Bites cool for a minute or two before serving. They are best enjoyed warm with your favorite low-carb dipping sauce, such as a ranch or spicy aioli.
Notes
- Calories: 224 kcal
- Protein: 9.7g
- Fat: 18.2g
- Total Carbohydrates: 6.4g
- Dietary Fiber: 2.3g
- Total Sugars: 2.8g
- Net Carbohydrates: 4.1g
Go On, Give ‘Em a Try!
Honestly, these Crispy Broiled Pickle Bites have quickly become a favorite in my house, and I have a feeling they will in yours too. They’re just too easy and too delicious not to love. So, go ahead, grab those pickles, and get broiling!

")
")


